CLB Integration Configuration
The CLB integration relies on an agent that must be run on the CLB Windows Server. The steps below are required to configure this.
First step, head to the Home in the Nexus Care platform, and click "New" in the Sources section. From there, select CLB.
This will provision a new CLB integration for the site, now download the agent via the button provided and place it somewhere on the CLB server. We'll need that shortly.
Preparing CLB
We'll next need to prepare the CLB software and create a Generic External Device for us to connect to.
Open the CLB Configurator software and open Locations:
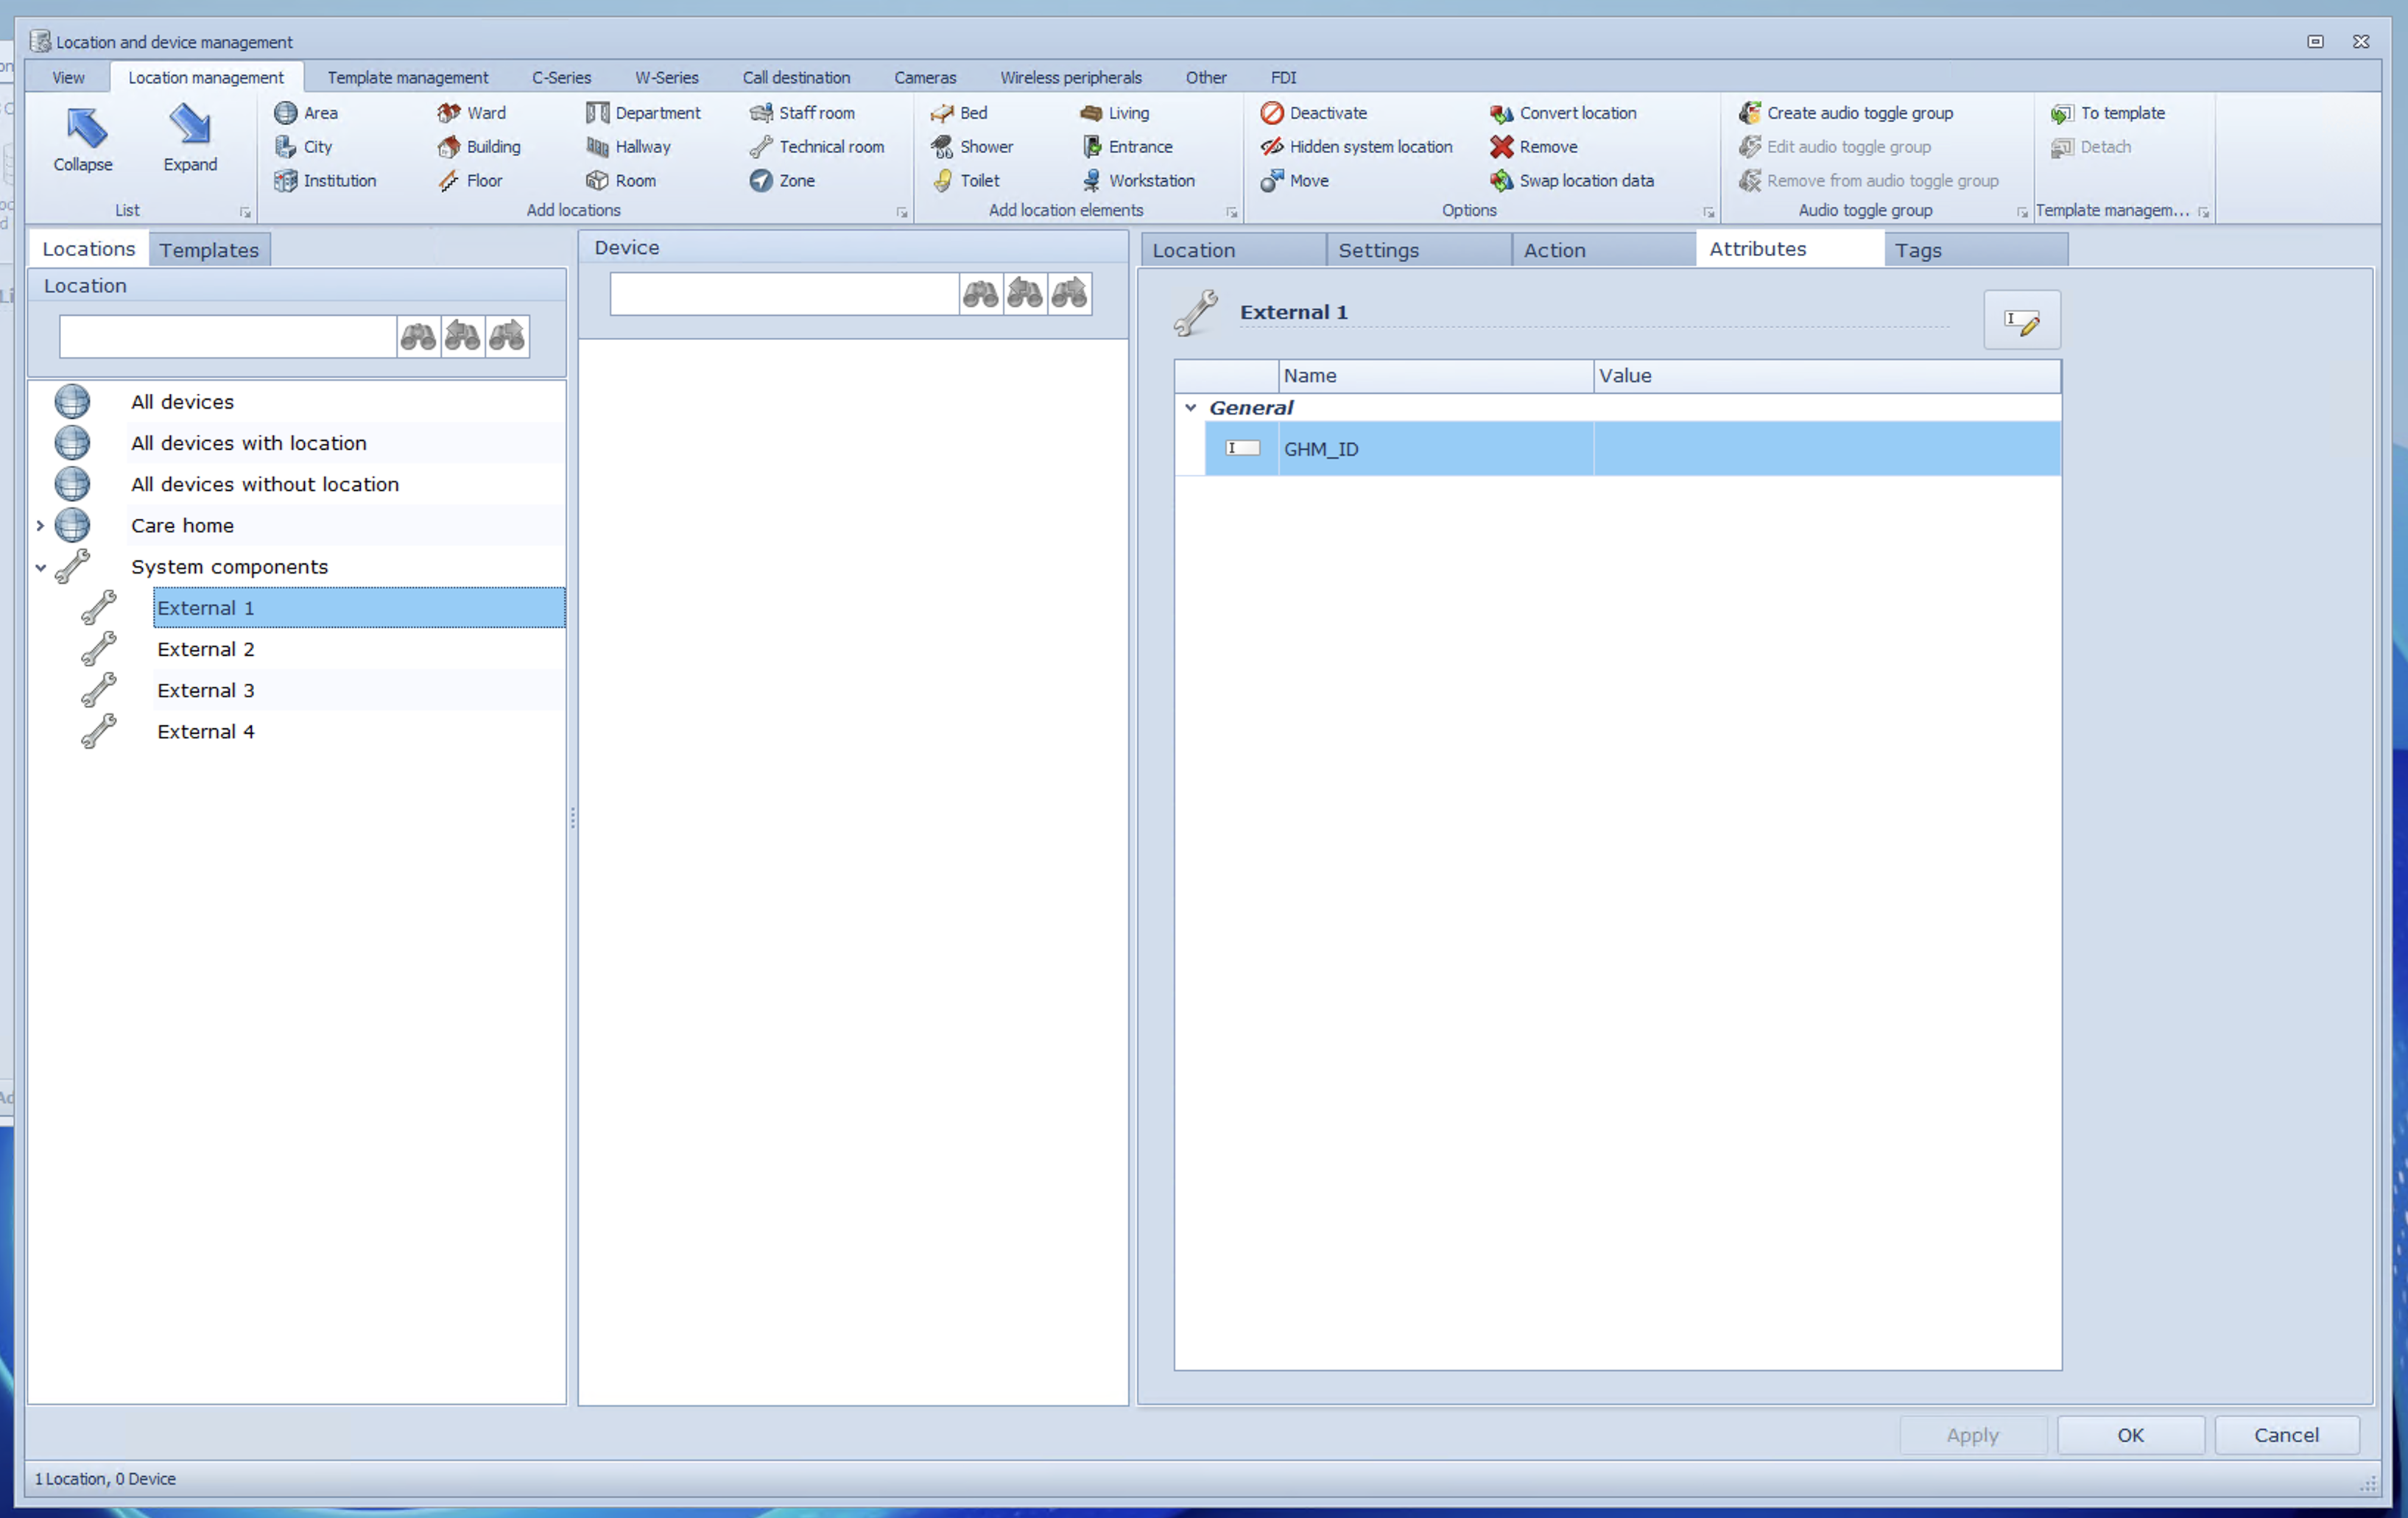
Select System Components, then head to Location Management and click Technical Room. This will create a new Technical Room that you can rename on the right:
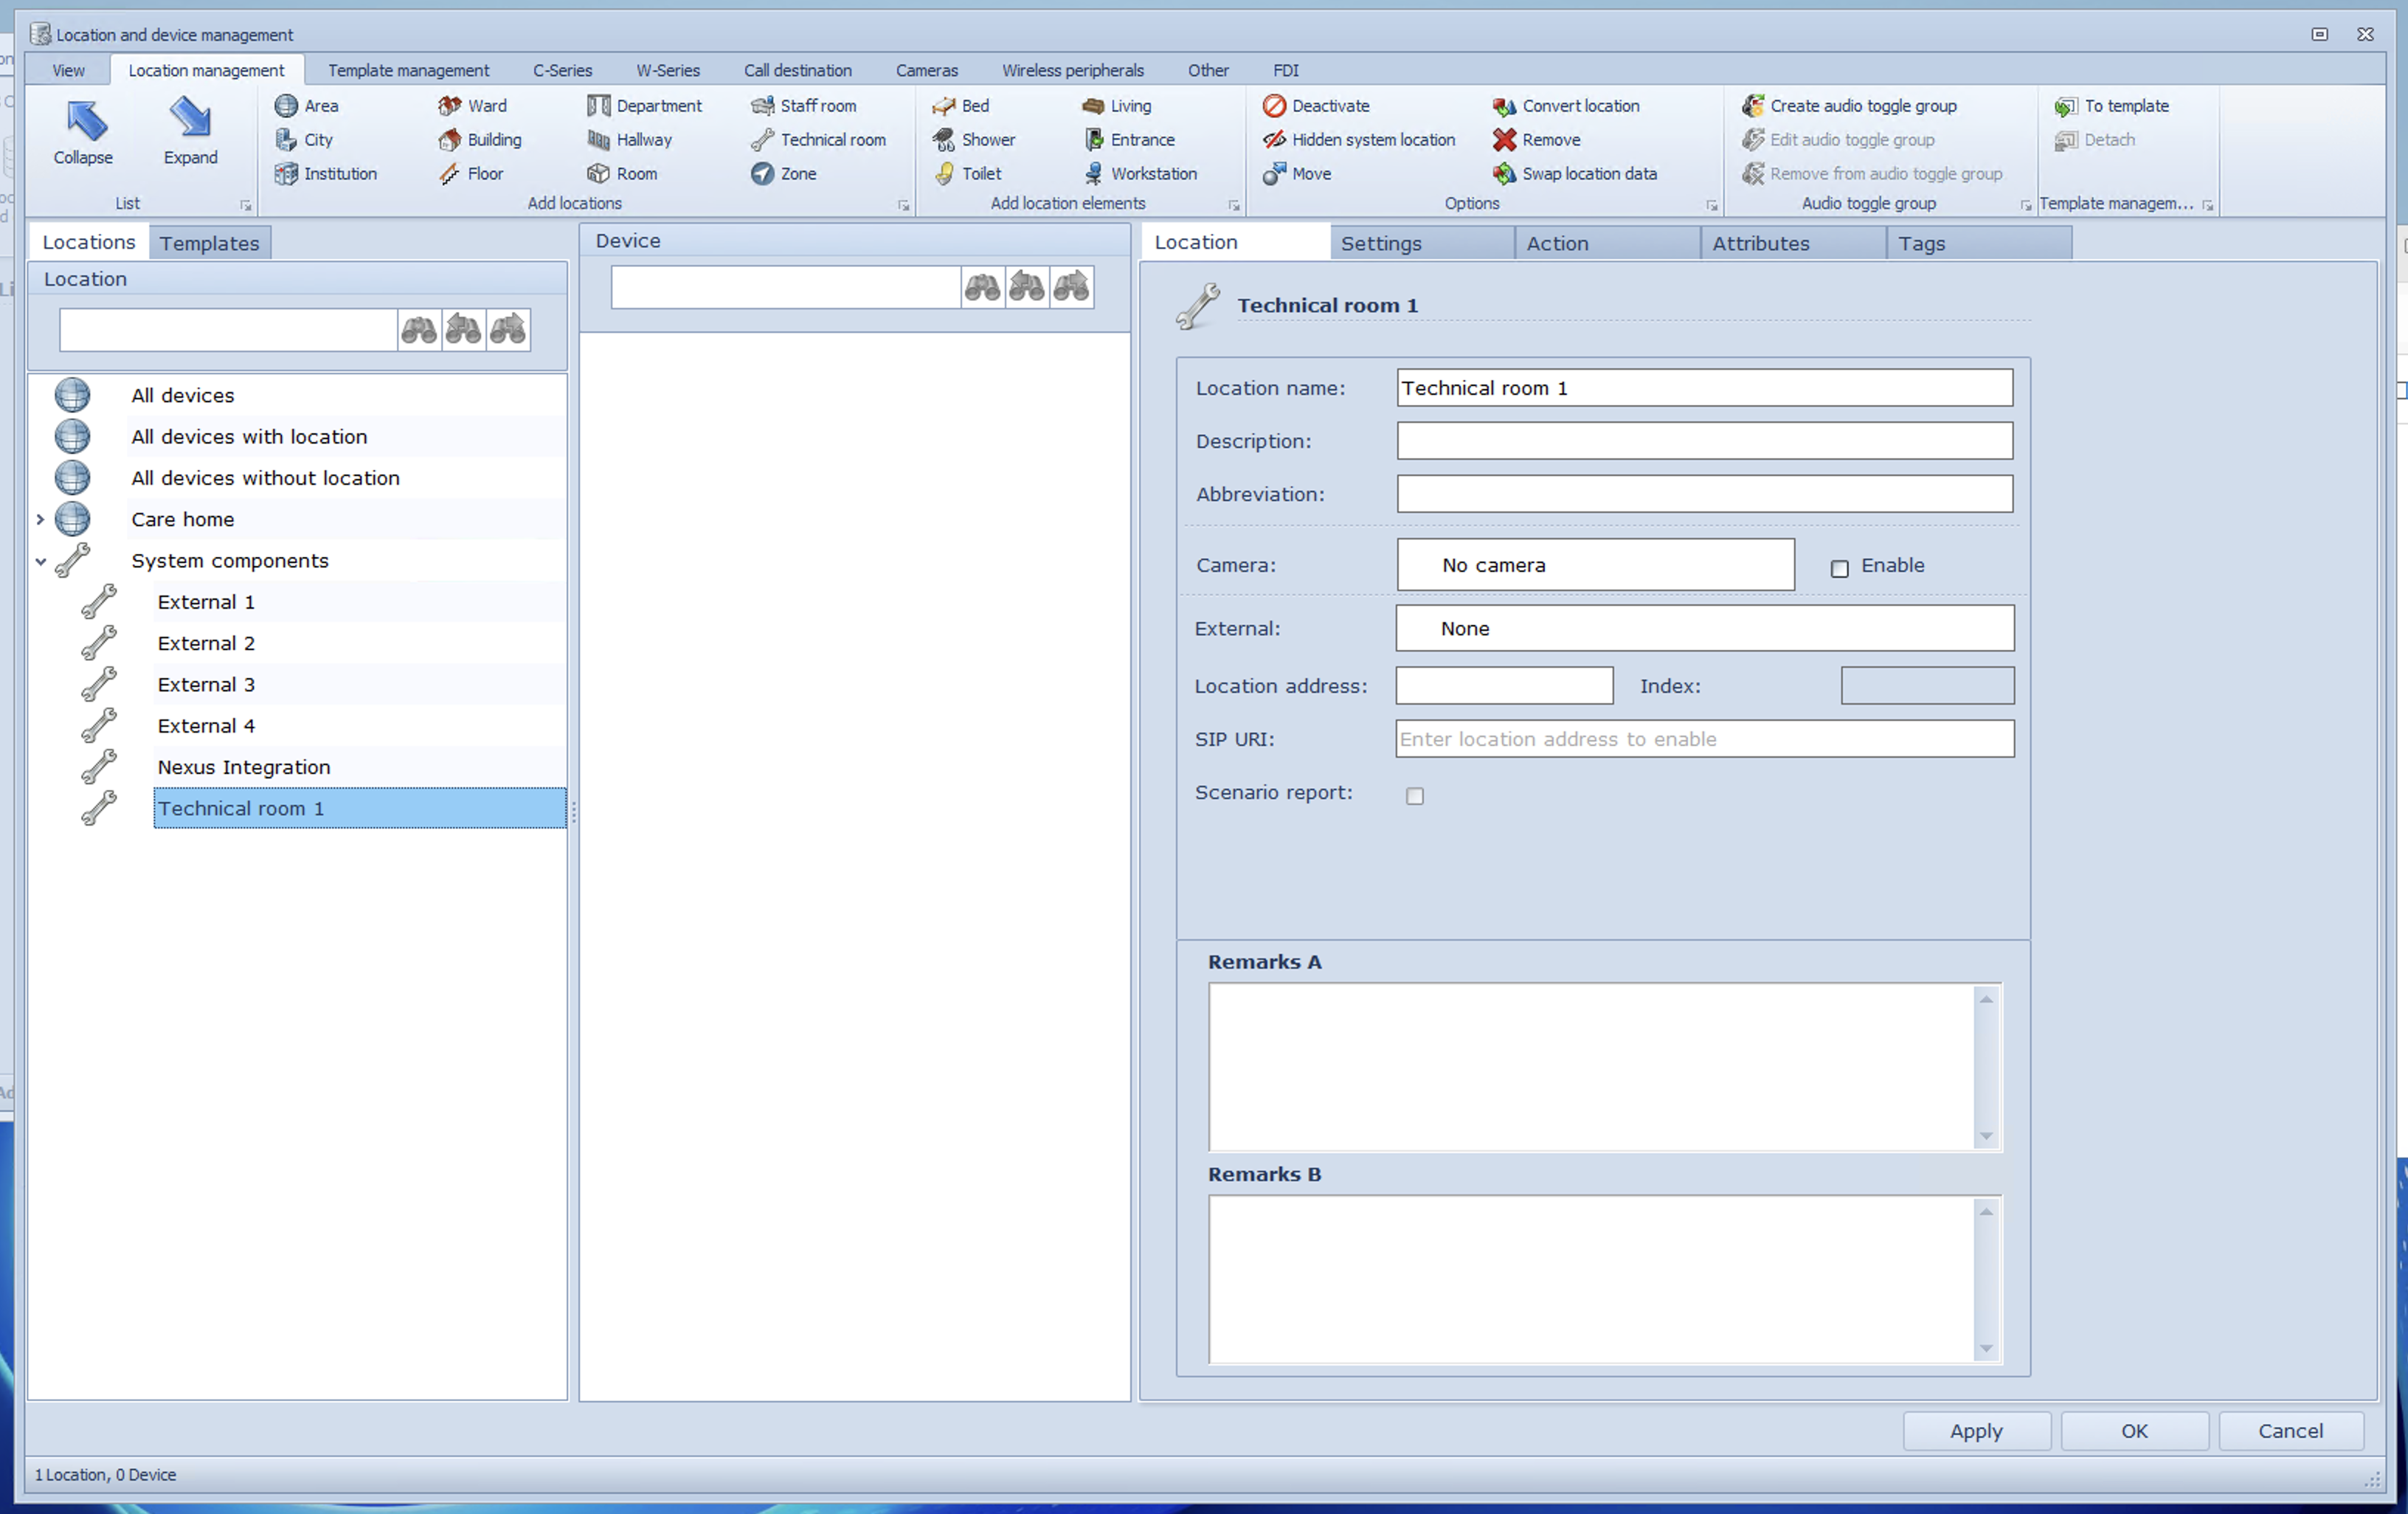
Once this is done press "Ok" and this will close this window. Next, head to Externals in the top menu. From here, let's click to create a Generic external device in the top menu.
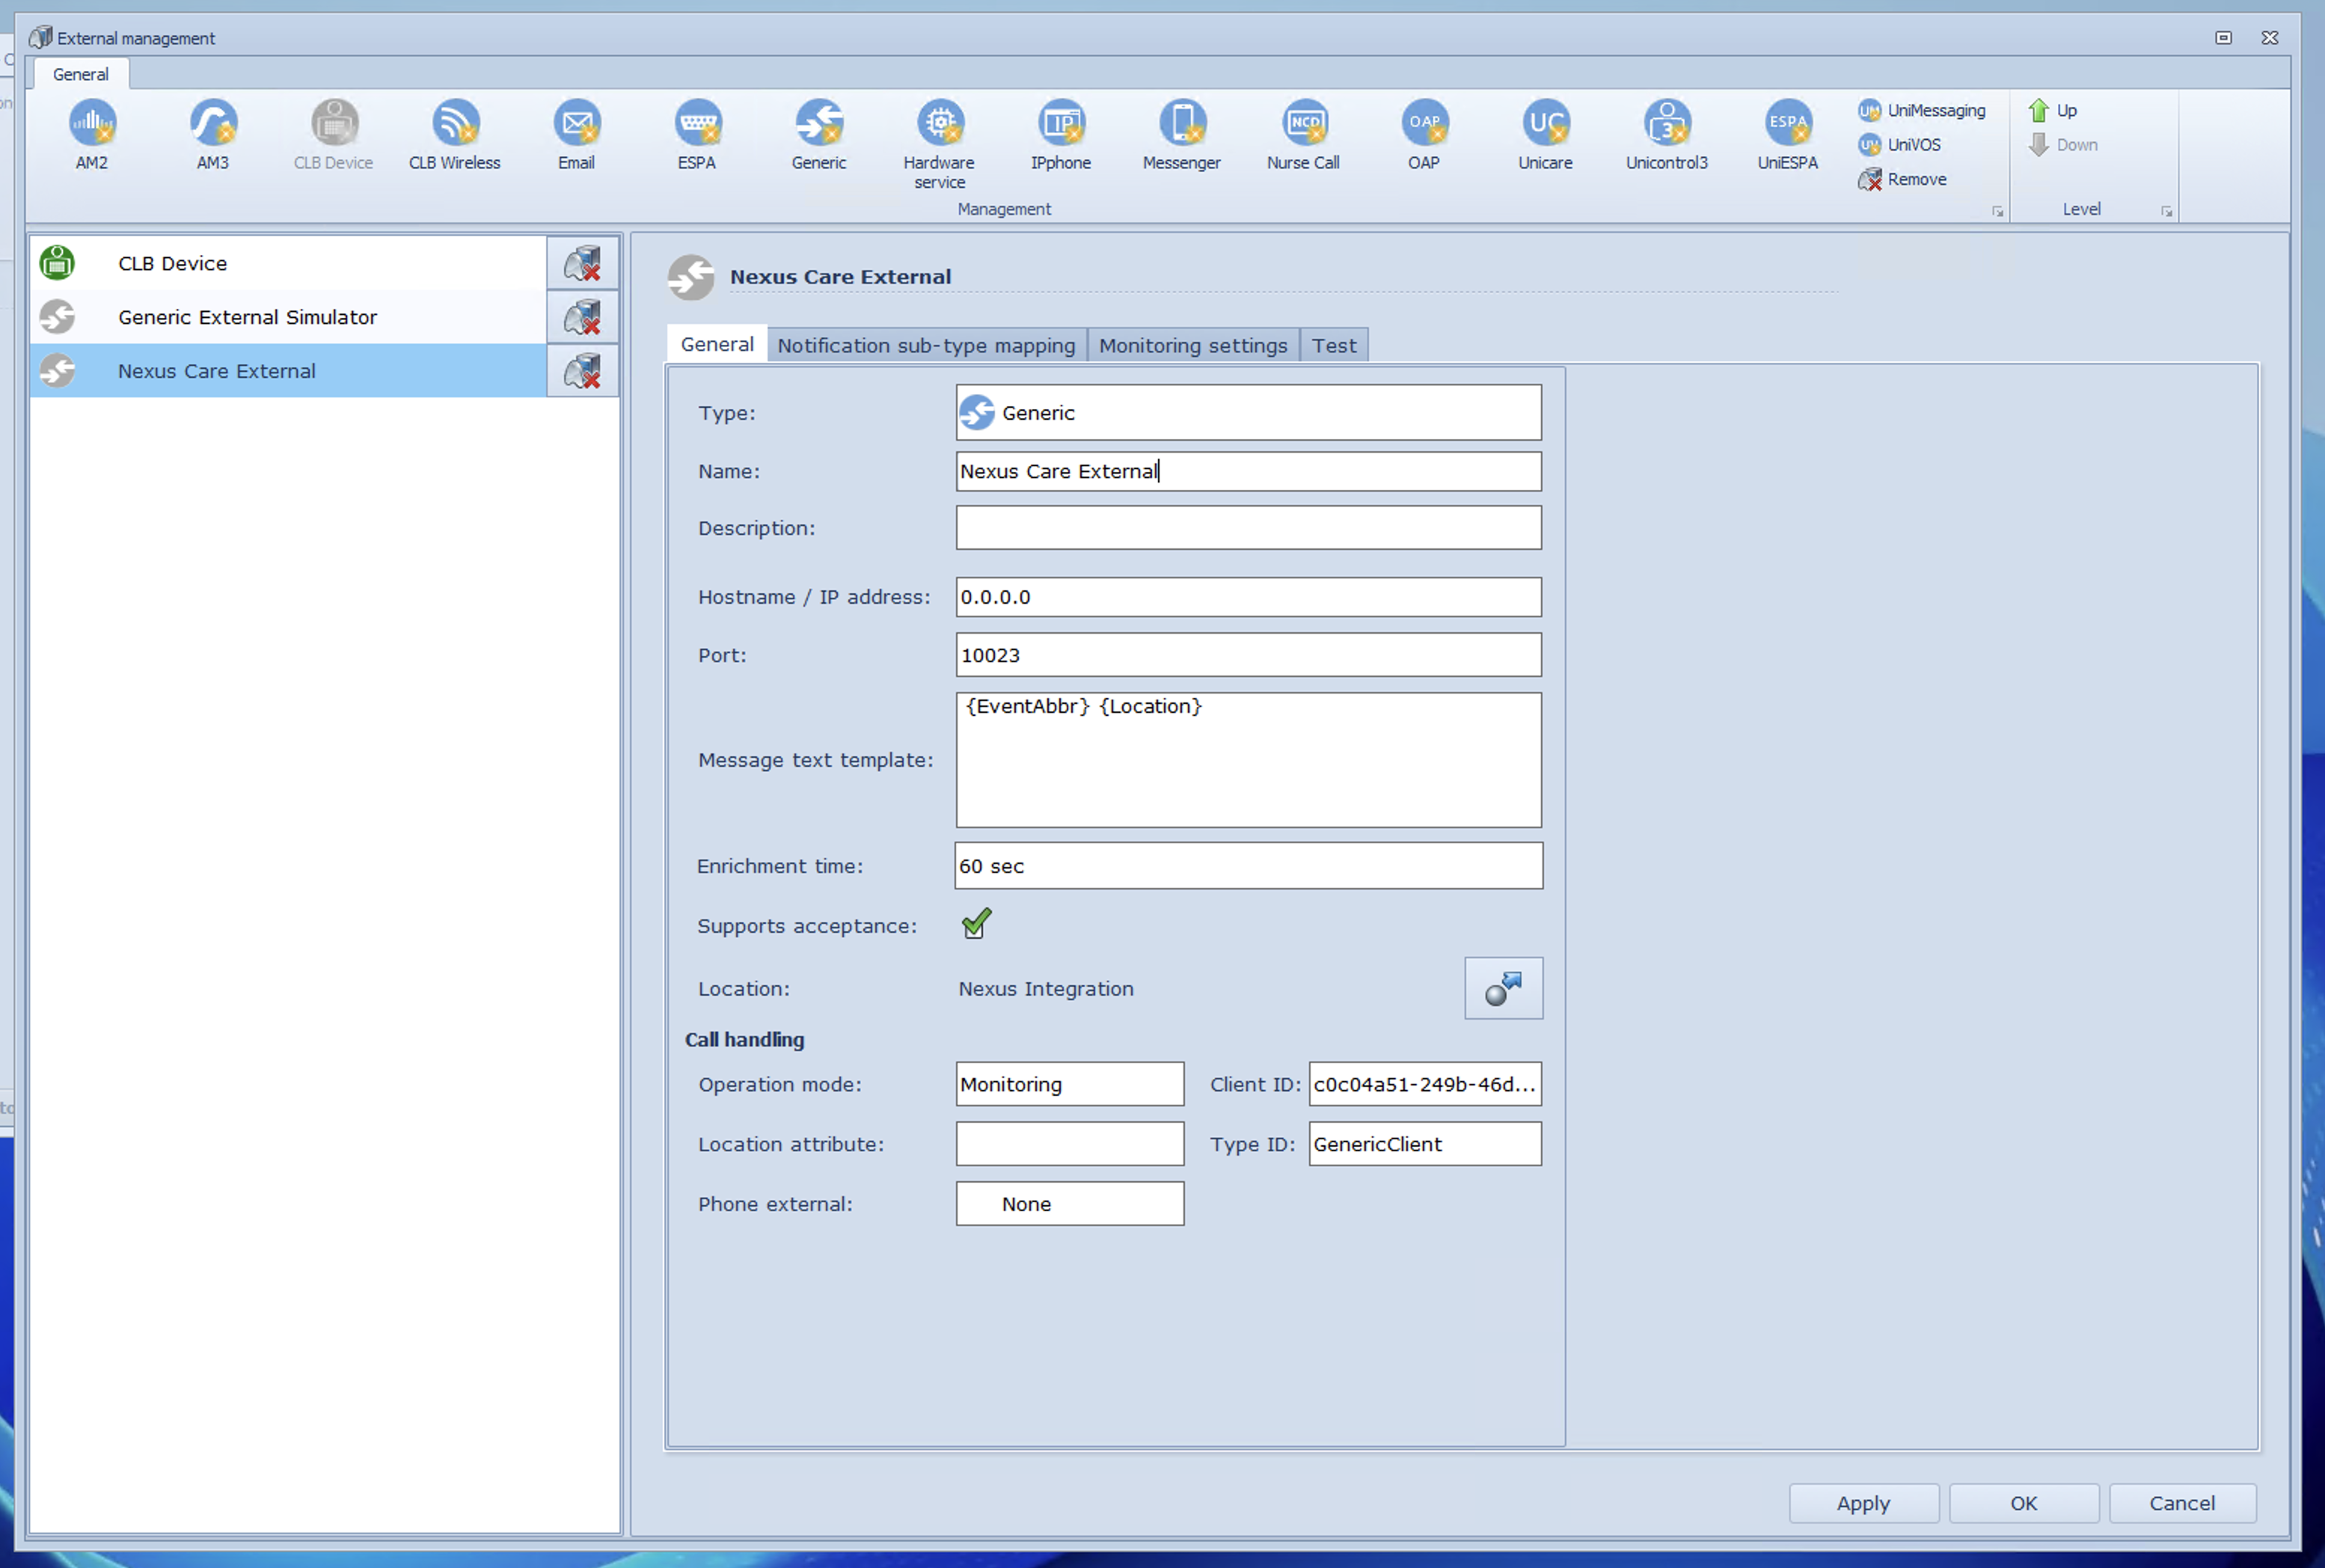
Give it a descriptive name, ensure it is using a port not in use by another integration, and.and select the location we just created in the Location section:
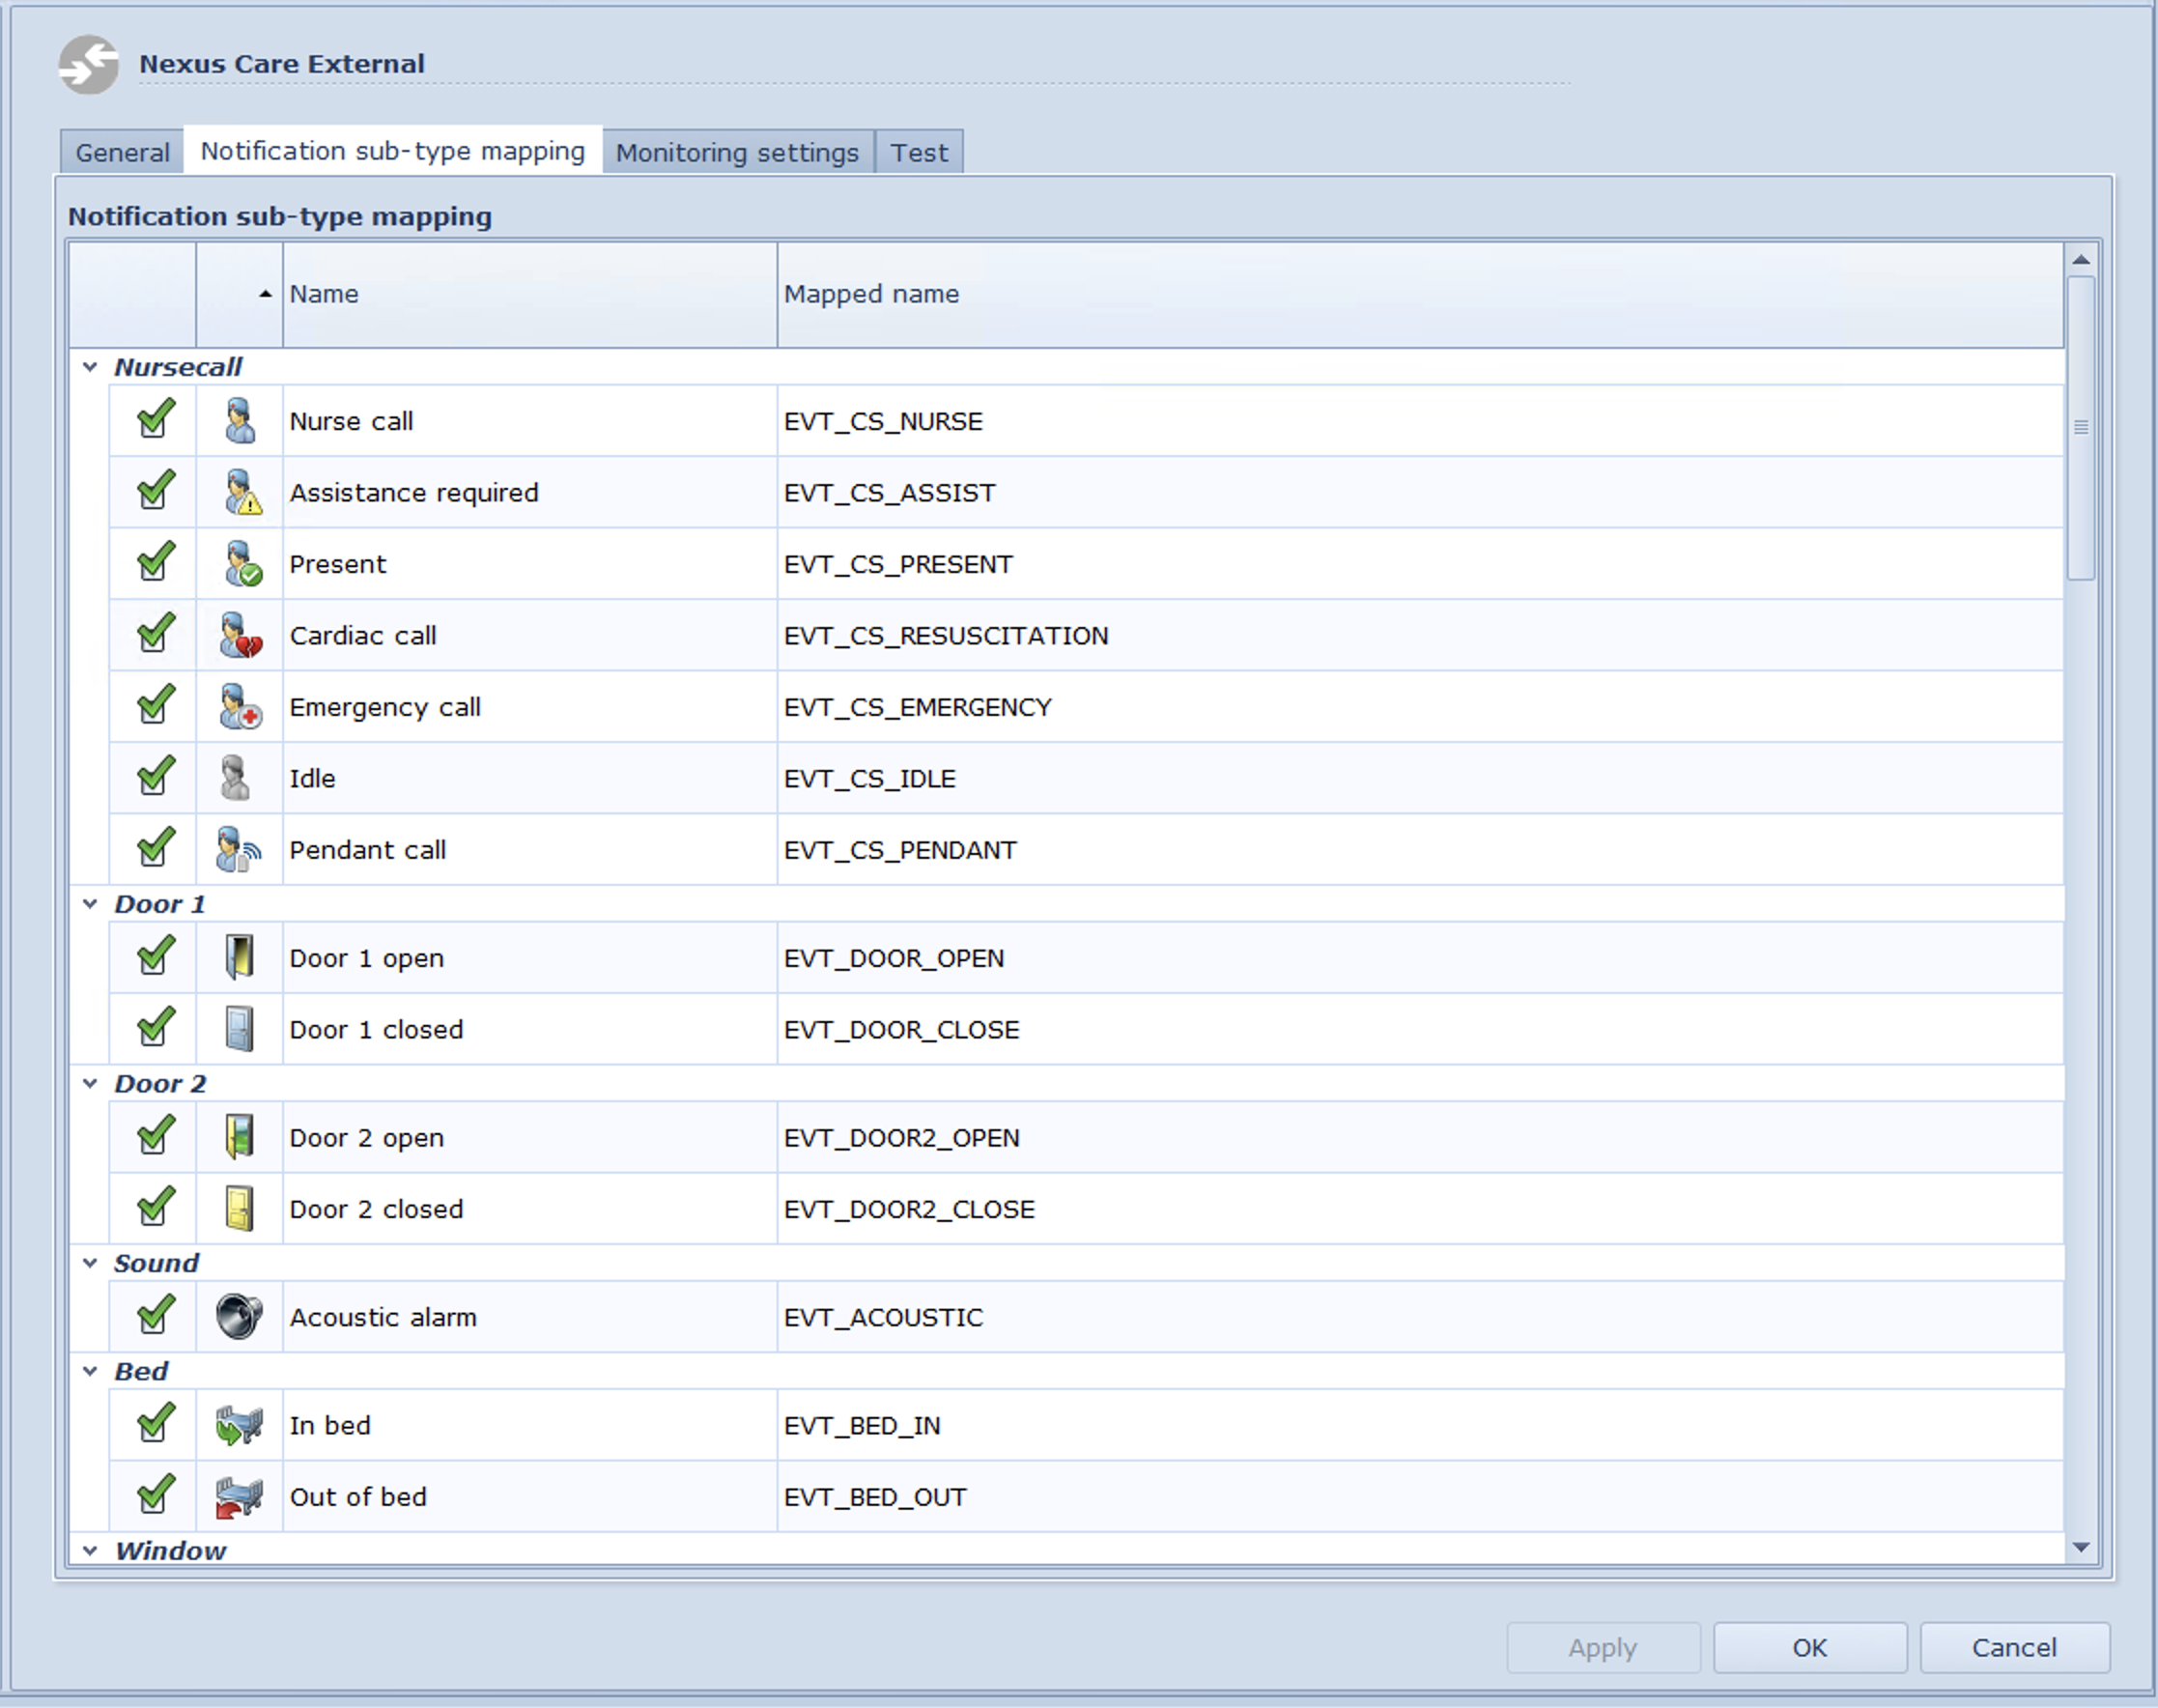
Next, go to the Notification sub-type mapping tab and select all entries in the list ensuring you scroll all the way to the bottom and select them all:
Once this is done, head to Monitoring settings, tick the care home (or name of the home) and then the check all box for the list on the right. Also tick the options to the right of the list, ticking the first one should then automatically tick them all.

Next, head back to the General tab and press Apply. Keep this window open as we'll need some information from here shortly.
Configuring The Agent
Now that CLB is ready, we need to configure the agent!
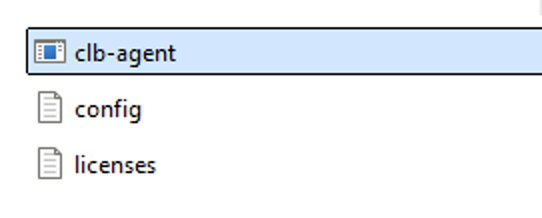
Run the .exe file downloaded earlier. As there is no configuration file, this will create it for us and immediately exit. You'll see this in the folder:
Now, open the config file and edit the information below:
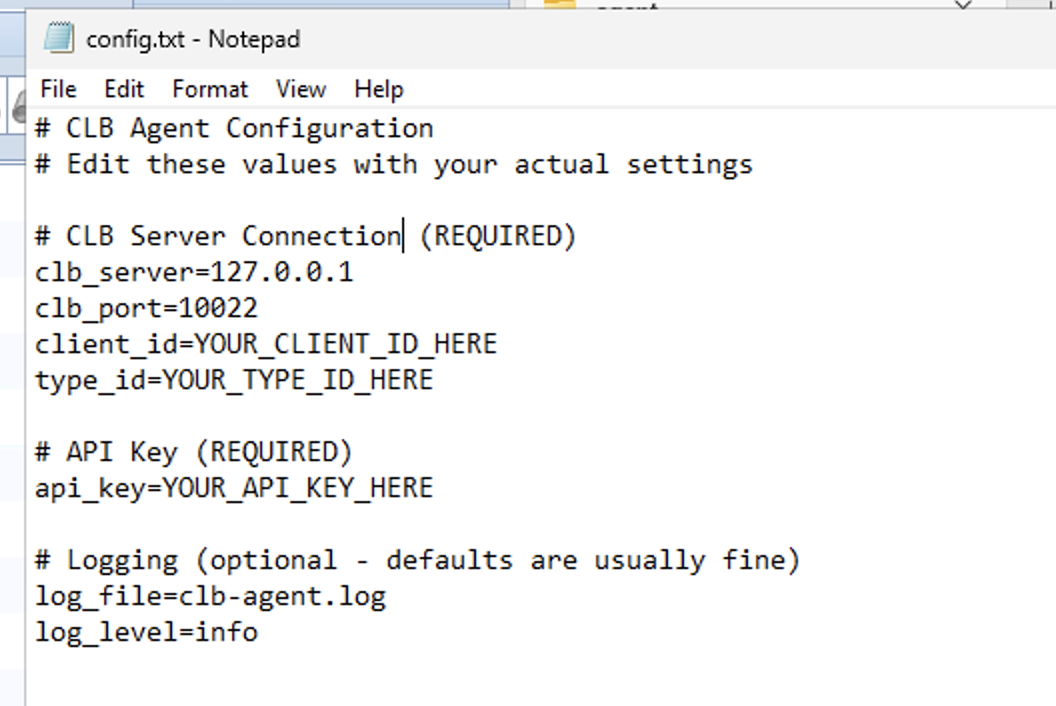
clb_server will typically be 127.0.0.1 as we run this locally on the CLB server.
clb_port will be the port number we assigned earlier
client_id is a UUID that CLB automatically generates, it is in the Call Handling section of the Generic External we created earlier.
type_id is also located in the same place, typically it will be GenericClient but always check!
api_key is provided in the nexus care platform, this allows the agent to relay the data to our cloud. Copy and paste this from the same page you downloaded the agent from earlier.
Once this is configured, save and close the file and start the agent to ensure it connects. You should see the grey icon in the externals list turn green (as pictured below). This is great! Now, stop the agent by closing its window. You will get an error from CLB to let you know it has disconnected, this is normal.

Configure Scheduled Task
To ensure Windows keeps the agent running, we'll use a scheduled task. This allows the agent to start whenever the server boots and restart if it stops unexpectedly.
-
Open Task Scheduler
-
On the CLB Windows Server, press
Win + R, typetaskschd.msc, and press Enter (or search for it in the Start Menu). -
This opens the Task Scheduler management console.
-
-
Create a New Task
-
In the right-hand Actions pane, click Create Task (not “Create Basic Task” — we need more options).
-
Give the task a descriptive name, e.g., CLB Agent Service.
-
-
Set Security Options
-
Under the General tab:
-
Select Run whether user is logged on or not.
-
Check Run with highest privileges to ensure the agent has the necessary permissions.
-
-
-
Configure Triggers
-
Go to the Triggers tab and click New.
-
Choose At startup so the agent launches whenever the server boots.
-
Optionally, add a second trigger: On a schedule (e.g., daily at midnight) to restart the agent if needed.
-
-
Configure Actions
-
Go to the Actions tab and click New.
-
Set Action to Start a program.
-
In Program/script, browse to the agent
.exefile you downloaded earlier. -
Leave Add arguments blank unless specific flags are required.
-
Set Start in to the folder containing the
.exefile (this ensures the config file is found).
-
-
Set Conditions
-
In the Conditions tab, uncheck Start the task only if the computer is on AC power (important for servers).
-
Ensure Wake the computer to run this task is checked if the server may sleep.
-
-
Set Recovery Options
-
In the Settings tab:
-
Check Allow task to be run on demand.
-
Check Restart the task if it fails and set retry attempts (e.g., every 1 minute, up to 3 times).
-
Ensure If the task is already running, then the following rule applies: Stop the existing instance is selected to avoid duplicates.
-
-
-
Save and Test
-
Click OK and enter administrator credentials when prompted.
-
Right-click the task and select Run to test it.
-
Verify the agent starts and connects (the CLB external device icon should turn green again).
-